Posts

Showing posts from March, 2022

Google authentication with Laravel

Image
Google authentication with Laravel First create a Laravel project           composer create-project --prefer-dist laravel/laravel googleLogin Now we have to install Jetstream           composer require laravel/jetstream Now we have to create the authentication. For this you can create basic login, registration and email verification           php artisan jetstream:install livewire Now install the node.js package          npm install Then run          npm run dev Create a database and migrate the tables          php artisan migrate Now, we will install Socialite Package that provide api to connect with google account           composer require laravel/socialite Now you have to create Google App in Google Developer Console First create an app in OAuth Consent Screen Then go to Credentials and clic...

Laravel Socialite Authentication with Facebook using Laravel 8

Image
  Laravel Socialite Authentication with Facebook using Laravel 8 Let us develop a sample web project to integrate Facebook login. First of all create a sample Laravel project using below command. If you want to know how to config Laravel in your PC please refer my blog about "First step to Laravel".          composer create-project laravel/laravel <your project name> Next we should install the Laravel Socialite Package using the composer. Note that you have to include Package in Providers if you are using below version than Laravel 8           composer require laravel/socialite Add below code to config\app.php in providers section           Laravel\Socialite\SocialiteServiceProvider::class, Add below code to in aliases section           'Socialite' => Laravel\Socialite\Facades\Socialite::class, To config\services.php include Facebook service    ...

Python API with Flask

Image
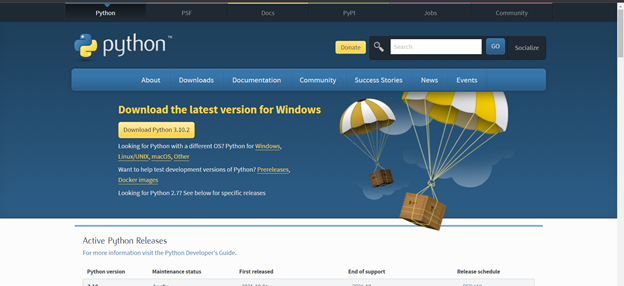
  Python API with Flask Install python from below link           https://www.python.org/downloads/           You can check if the python installation is success or not by running below command in command prompt          python --version Then you have to set up the environment to run the python application. In command prompt run below command. Note that you have mention the python version           py -2 -m pip install virtualenv Create a python file and name it as app.py Add below code as the first step and first sample API in the app.py file      Now if you are added the environment properly you can see play icon in right side of the vs code. Click that and application will run on port 5000. Browse the url This will return the array as a html type (check network of inspect). If you want to return it as a json you want to change the code as below The res...